
Using the Ghost Camera
What supplies do I need and where can I find them?
Camera
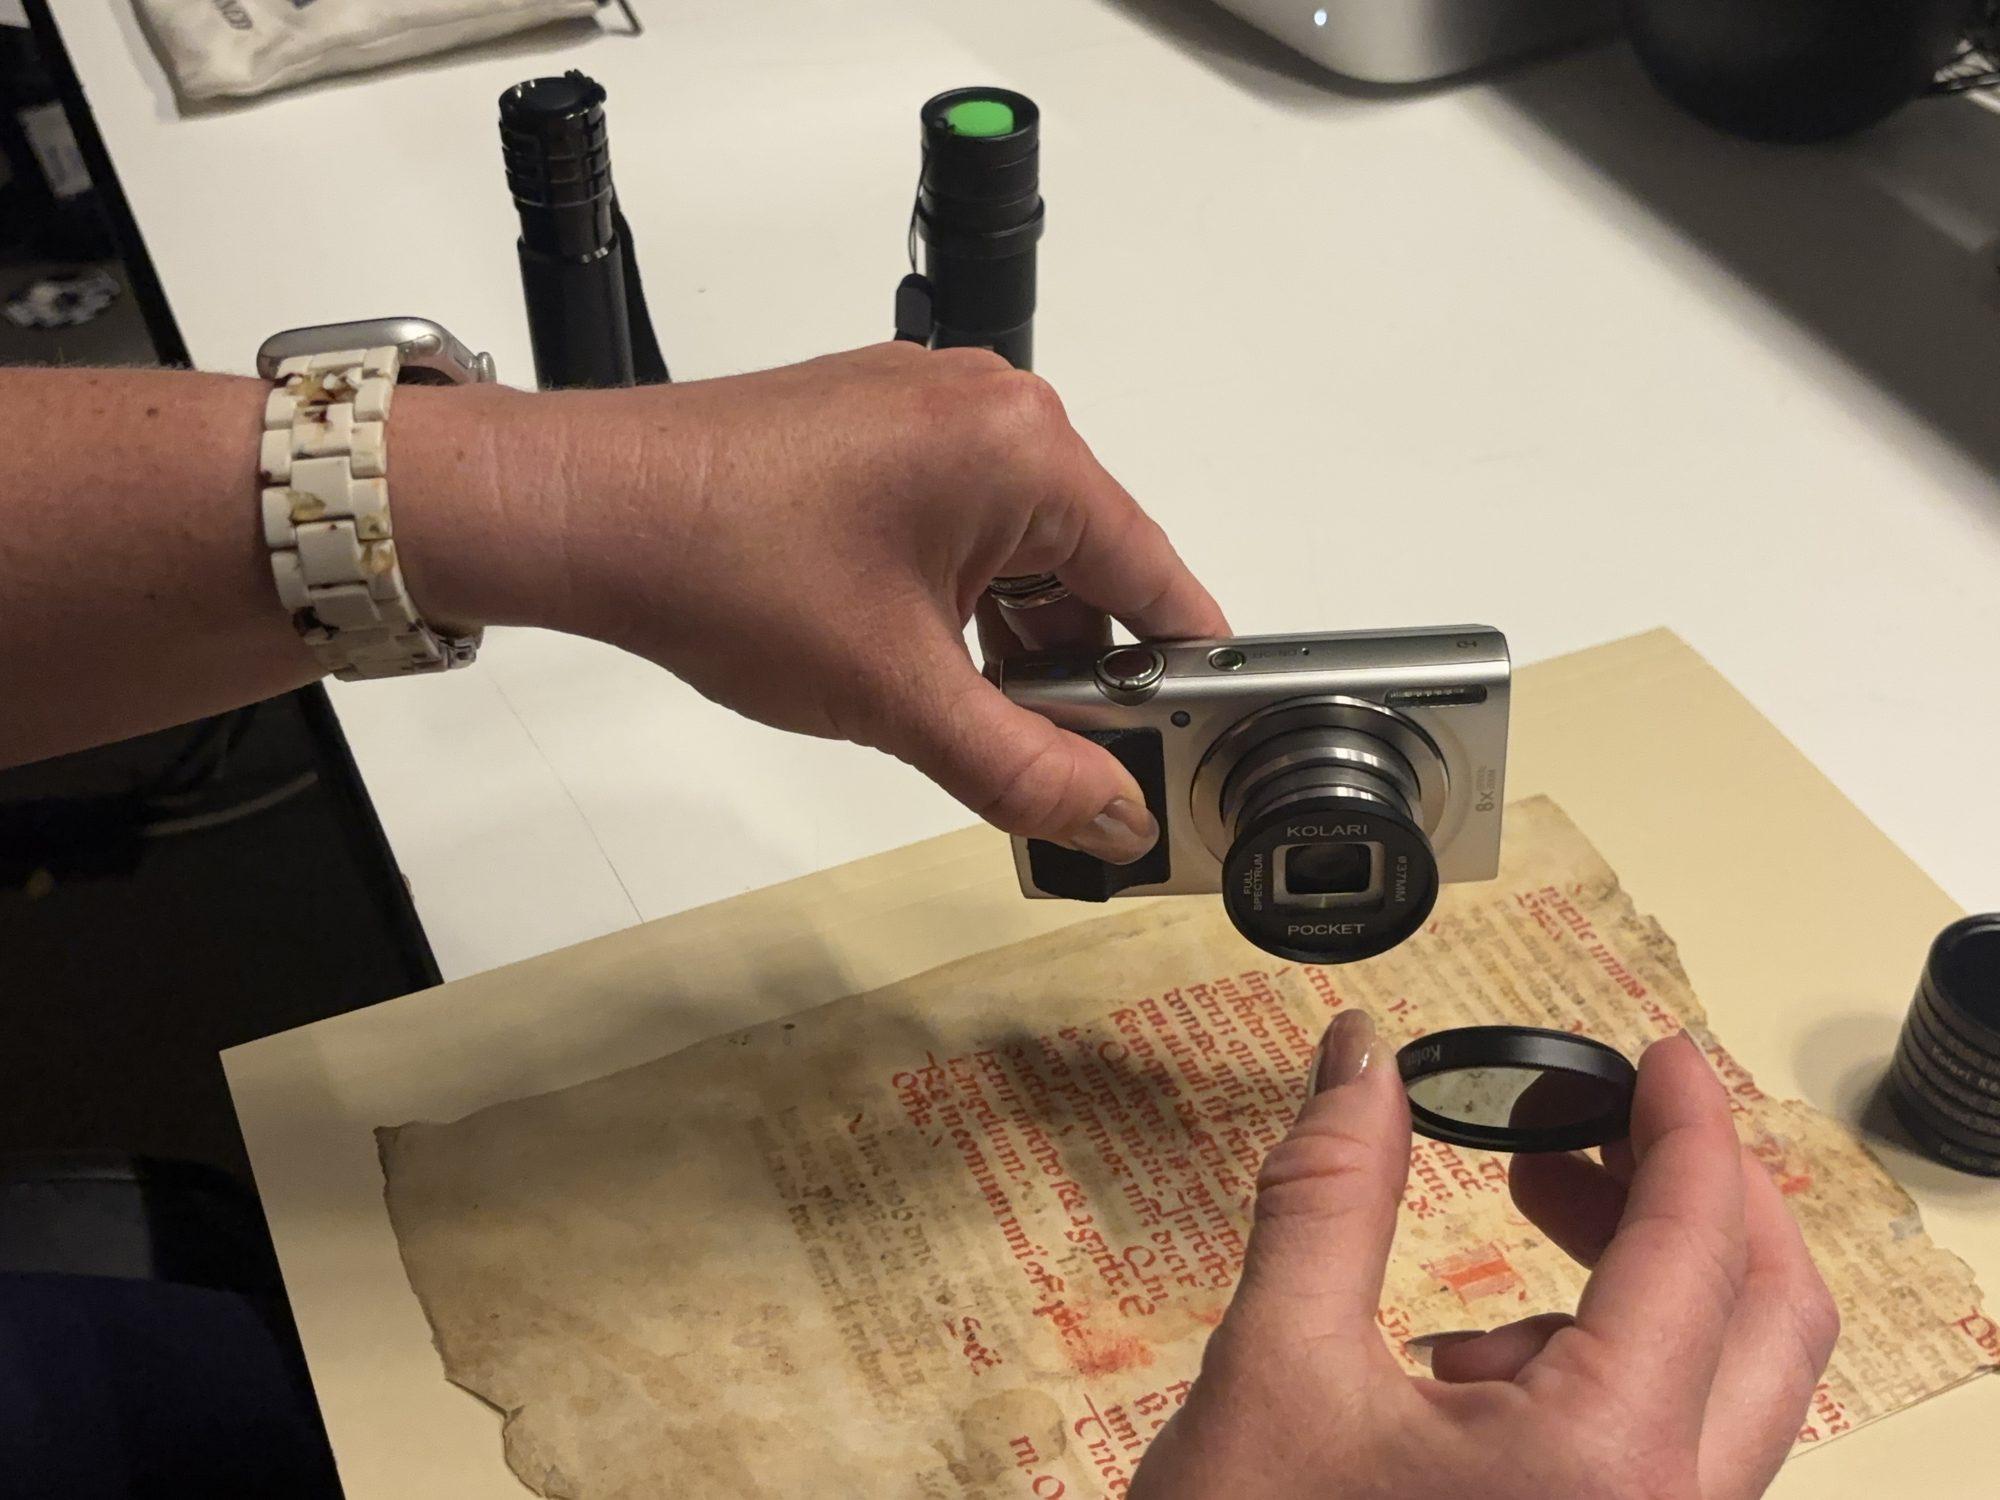
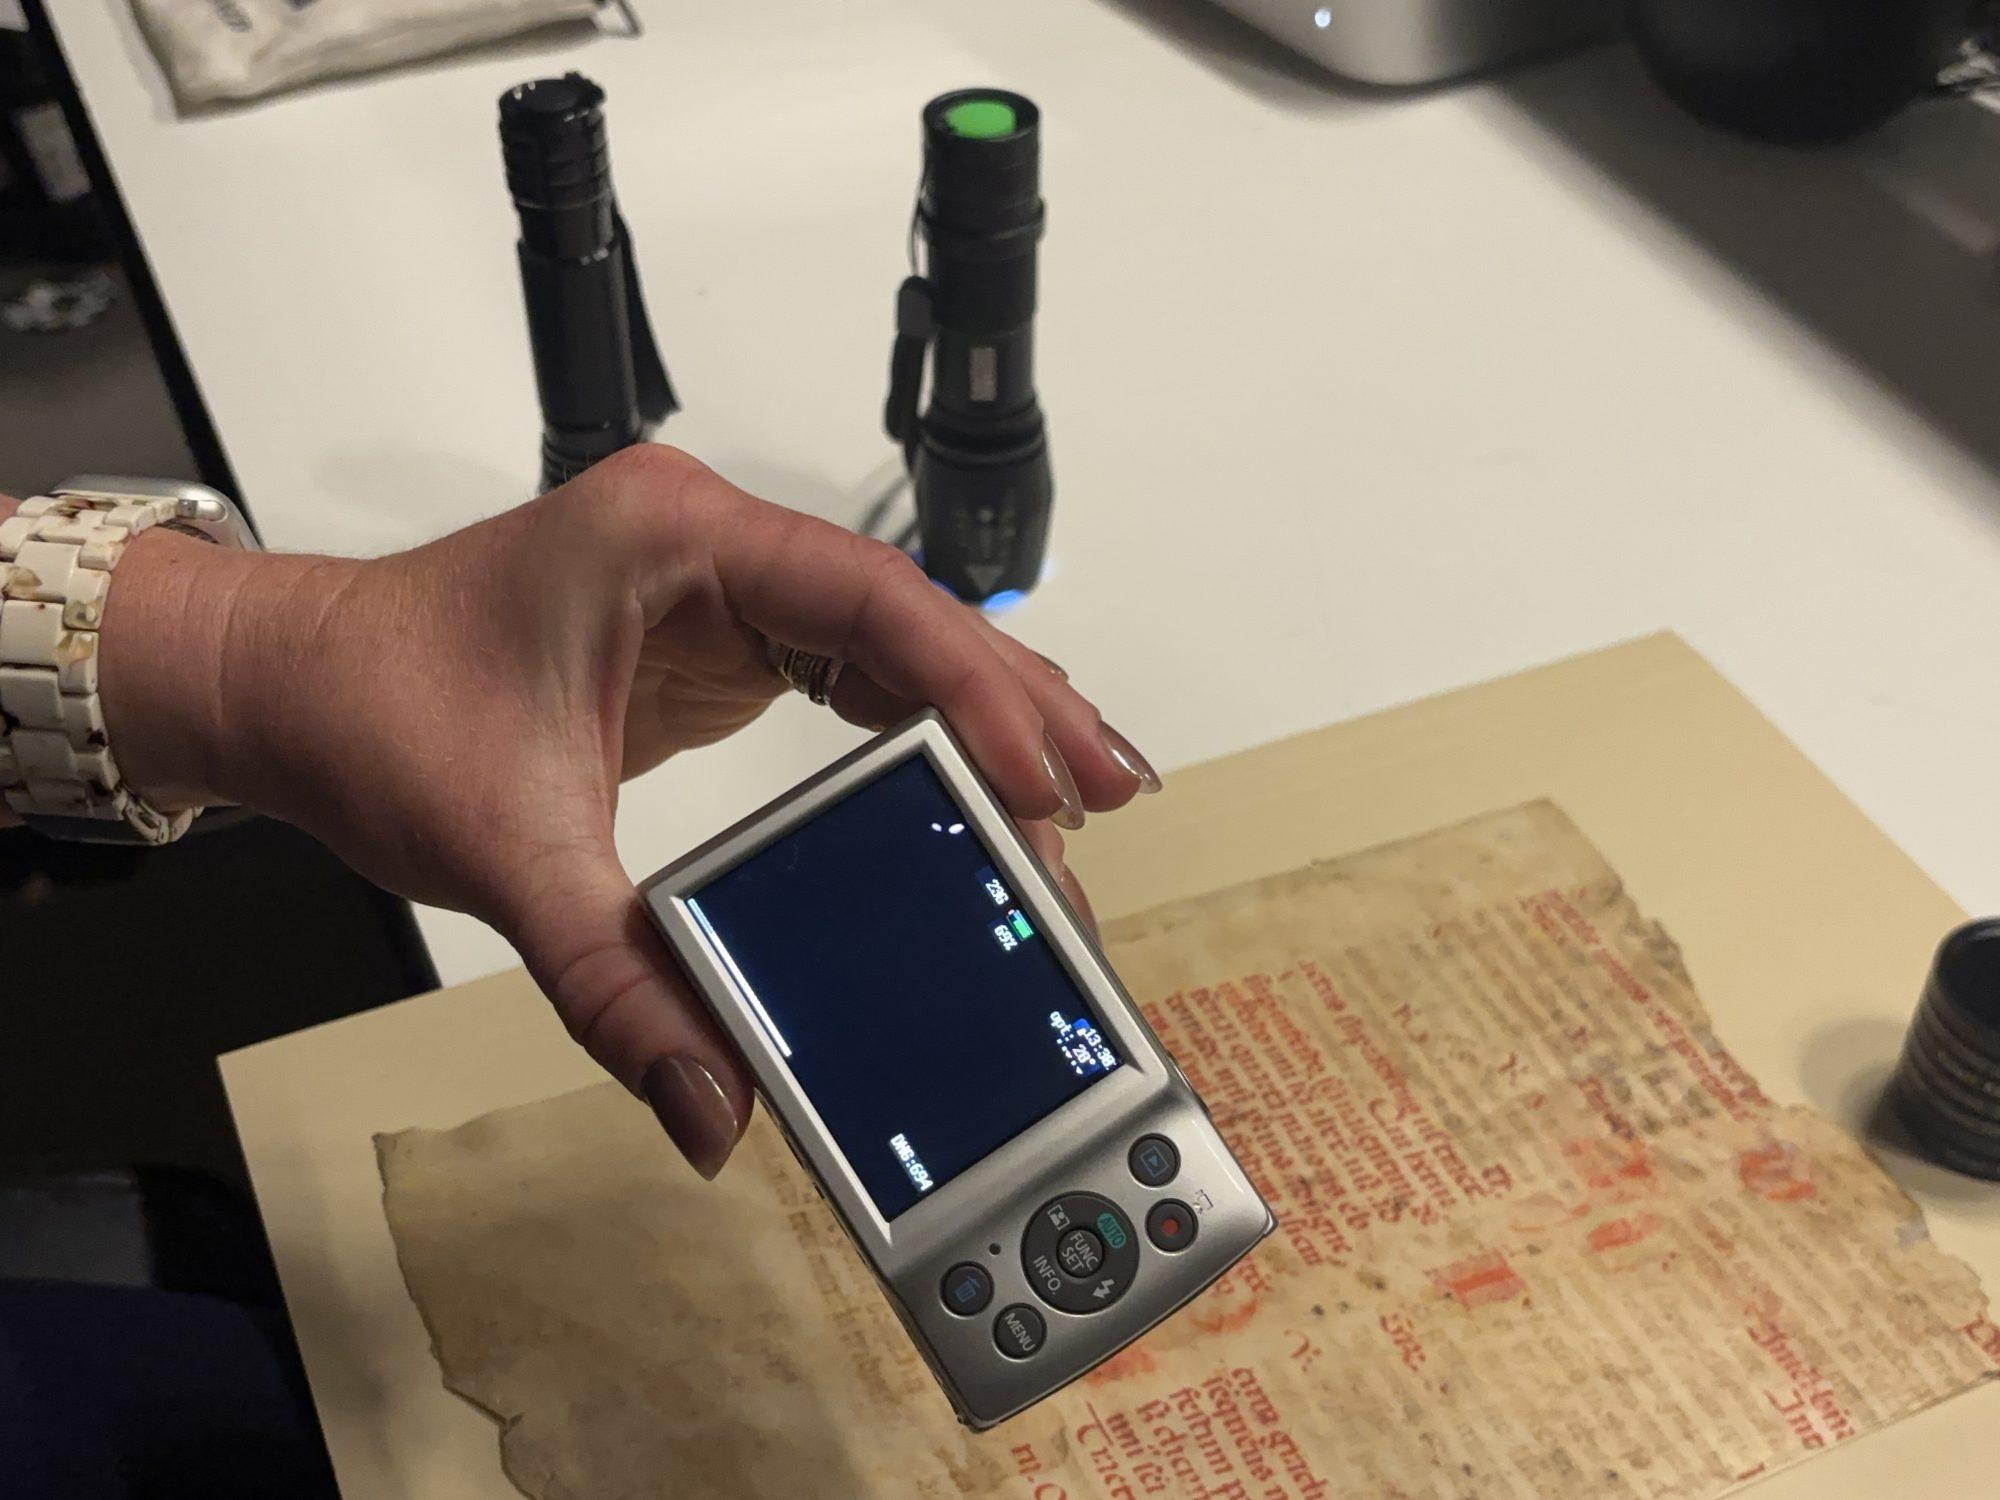
Our team uses a point-and-shoot camera and a set of lenses intended for amateur photography from Kolari which can be found on the Kolari website and purchased (at the time of this writing) for around $350. You will also need an appropriate SD card (or, more likely, multiple).
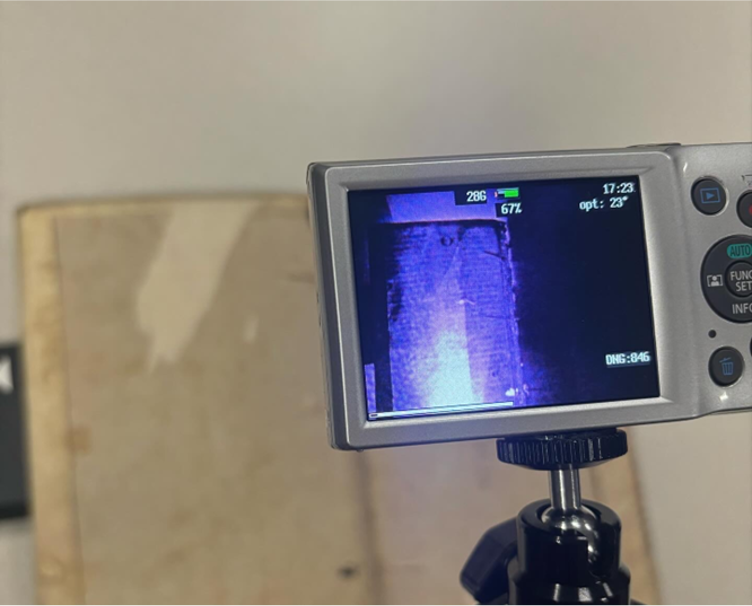
Lighting
We recommend using a UV or IR flashlight similar to one of the following:
Optional Accessories
A tripod can be a helpful tool. Ensure you have all the appropriate hardware for connecting the tripod and the camera.
System Requirements & Software
It is possible to use the Ghost Camera methodology with any computer that isn’t a Chromebook or similar device. We will elaborate on the software options below, but here are some convenient links:
Beginning: Make a Plan
Developing a plan for your imaging sessions is crucial and can help save time and streamline the process. Your plan may change in the moment, but having something to start will help guide you and ensure you have the minimum viable data required for your project. Your shot list should include each image and angle you want to capture as well as which filters or supplemental lighting sources you want to use. An example might look like:
| Image | Angle | Filter | Light Source |
| Full page | Overhead | none | ambient |
| Full page | Overhead | [desired] | ambient |
| Full page | Overhead | [desired] | [w/ flashlight] |
| Full page | Oblique (15-35°) | [desired] | [w/ flashlight] |
But you should organize your data in whatever way makes sense to you. After all, you’re the one who will have to use it later. In the shot list, try to only change one variable at a time. This will result in more images on the list, but will hopefully give you more flexibility in data processing later.
At this point, you should also develop your plan for sharing your data. Talk to the librarian, archivist, or other collection steward and ask how much of your data they want at the end of your process. It is typical to offer the raw images to the person giving you access to the items you will be imaging. Beyond that, you will want to have a sense for how you plan to share your findings and preserve your data. More on that later.
You will also want to decide who on your team will be tasked with what activities. It is helpful to have multiple people on an imaging expedition to put a second set of eyes on the data you gather, to ensure that you’re getting everything on the shot list, and to generally ensure that the work runs smoothly. Having a large team to allow for more granular task delegation is a luxury, but, even if it’s just two people, it is useful to define who is doing what in advance.
Set Up
Ghost Camera setup is less rigid than traditional MSI, which requires a tightly controlled workspace. Traditional MSI needs the room to be completely dark, and for all pictures to be taken from the same angle.
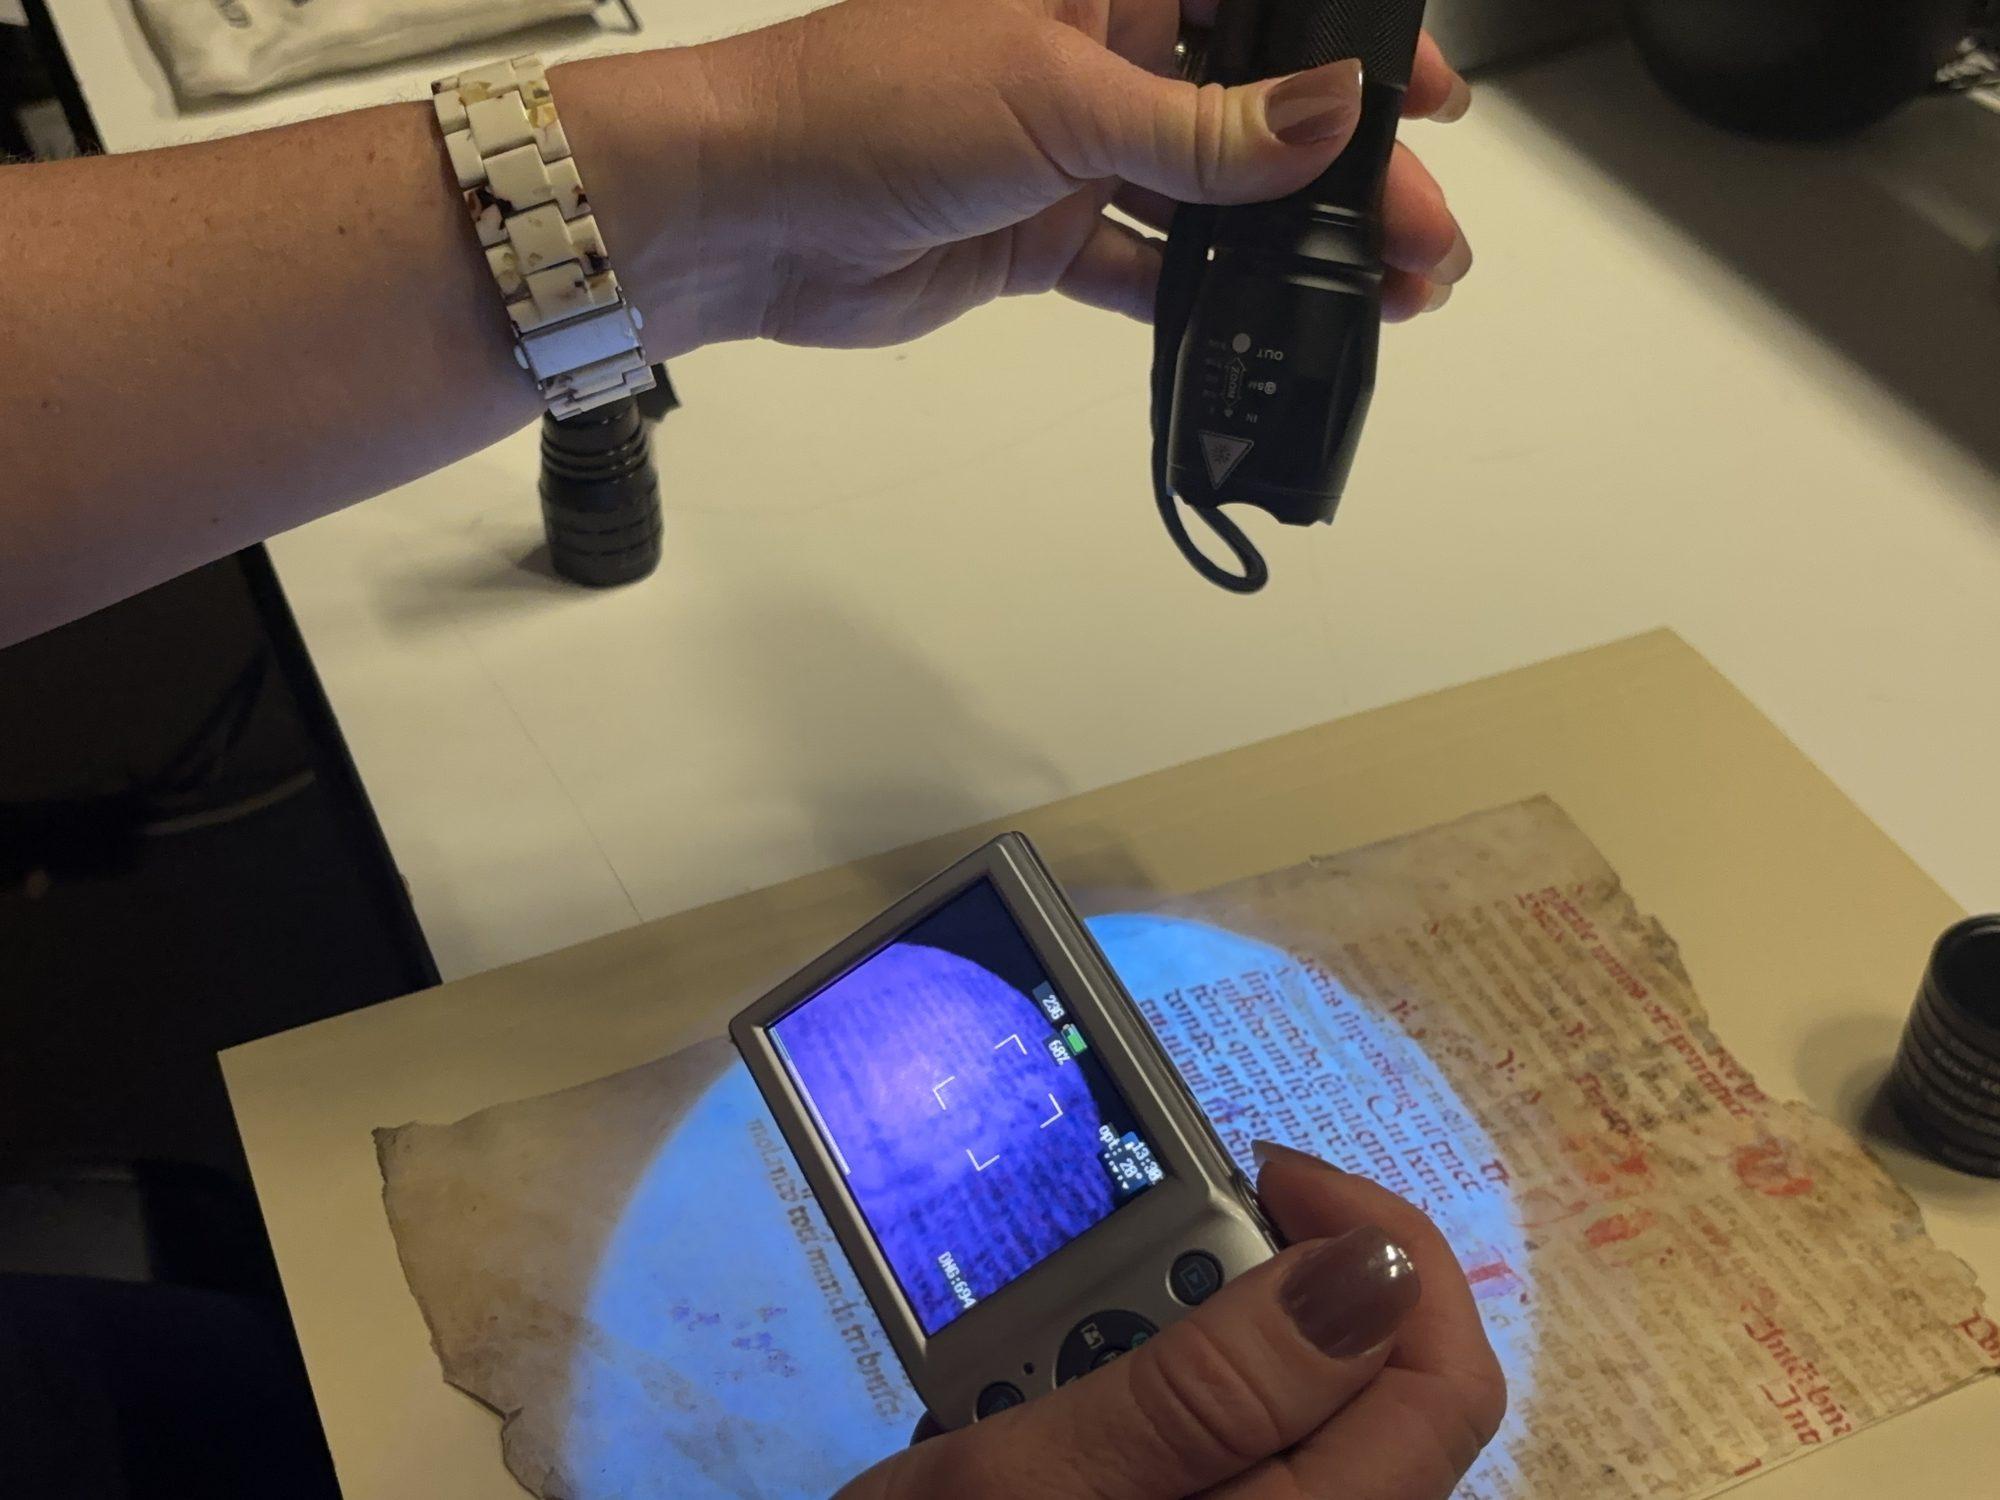
Ghost Camera imaging can be done under regular indoor lighting as some filters don’t work well when it’s too dark. UV/IR flashlights can strengthen data capture. While it’s helpful to take all pictures from the same angle, it is not necessary. You can hold the camera or use a tripod for stability. Tripods can help maintain consistent capture angles, position the camera directly above an object, or for relief from camera weight.
It can be helpful to establish an order for image capture ahead of time. Having an established order will make reviewing images easier.
Before beginning:

- Allow leeway in your schedule for set up, as complications often occur
- Charge the camera (and flashlights if using)
- Prepare a clean, indoor worksurface
- Follow any requirements for object handling from the object’s stewards (i.e. gloves)
- Collect all materials
- Insert the memory card into camera
- Identify target are for study (if not the whole page)
- Set up tripod (if using) and make sure that the tripod is not casting a shadow in the shot.
Begin Imaging
Step 1: Test Images
Take a few test shots before actual data collection to check for any problems such as shadows, blurriness and other focus issues, or awkward cropping. Identifying problems early allows for immediate corrections instead of having to reshoot later.
Step 2: Reference Images
Take a picture in natural, ambient light without any filters from above. Make sure there are no shadows in the shot. This first picture is a helpful reference for further imaging. If there is room in the shot, consider including a note with identifying information next to the object. If you are focusing on one small part of the object, take initial pictures of both the target area and the full object under natural light. Take as many of these photos as you like and/or need.
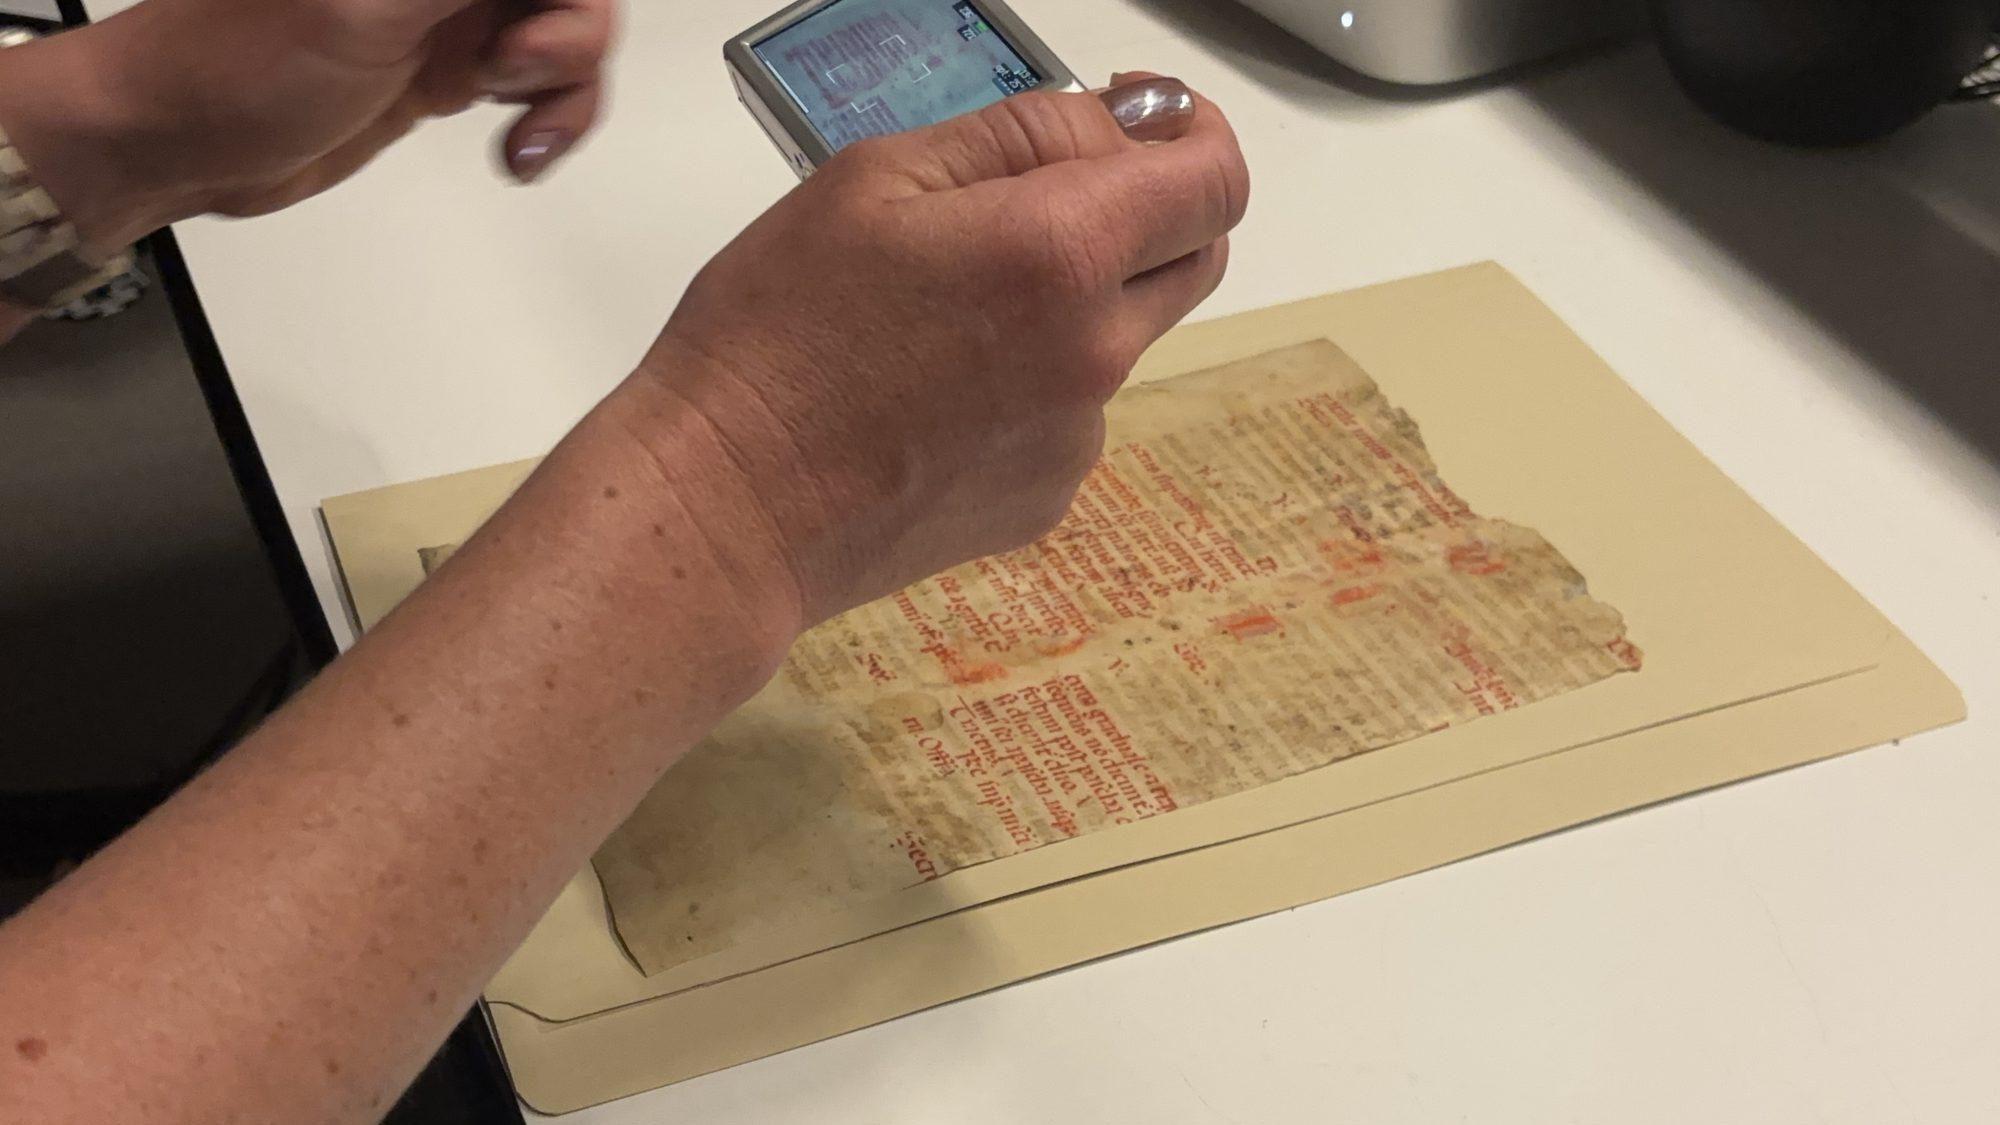
Step 3: Variable Lighting
Take photos with the flashlights and without filters. Again, take as many pictures as you like or need.

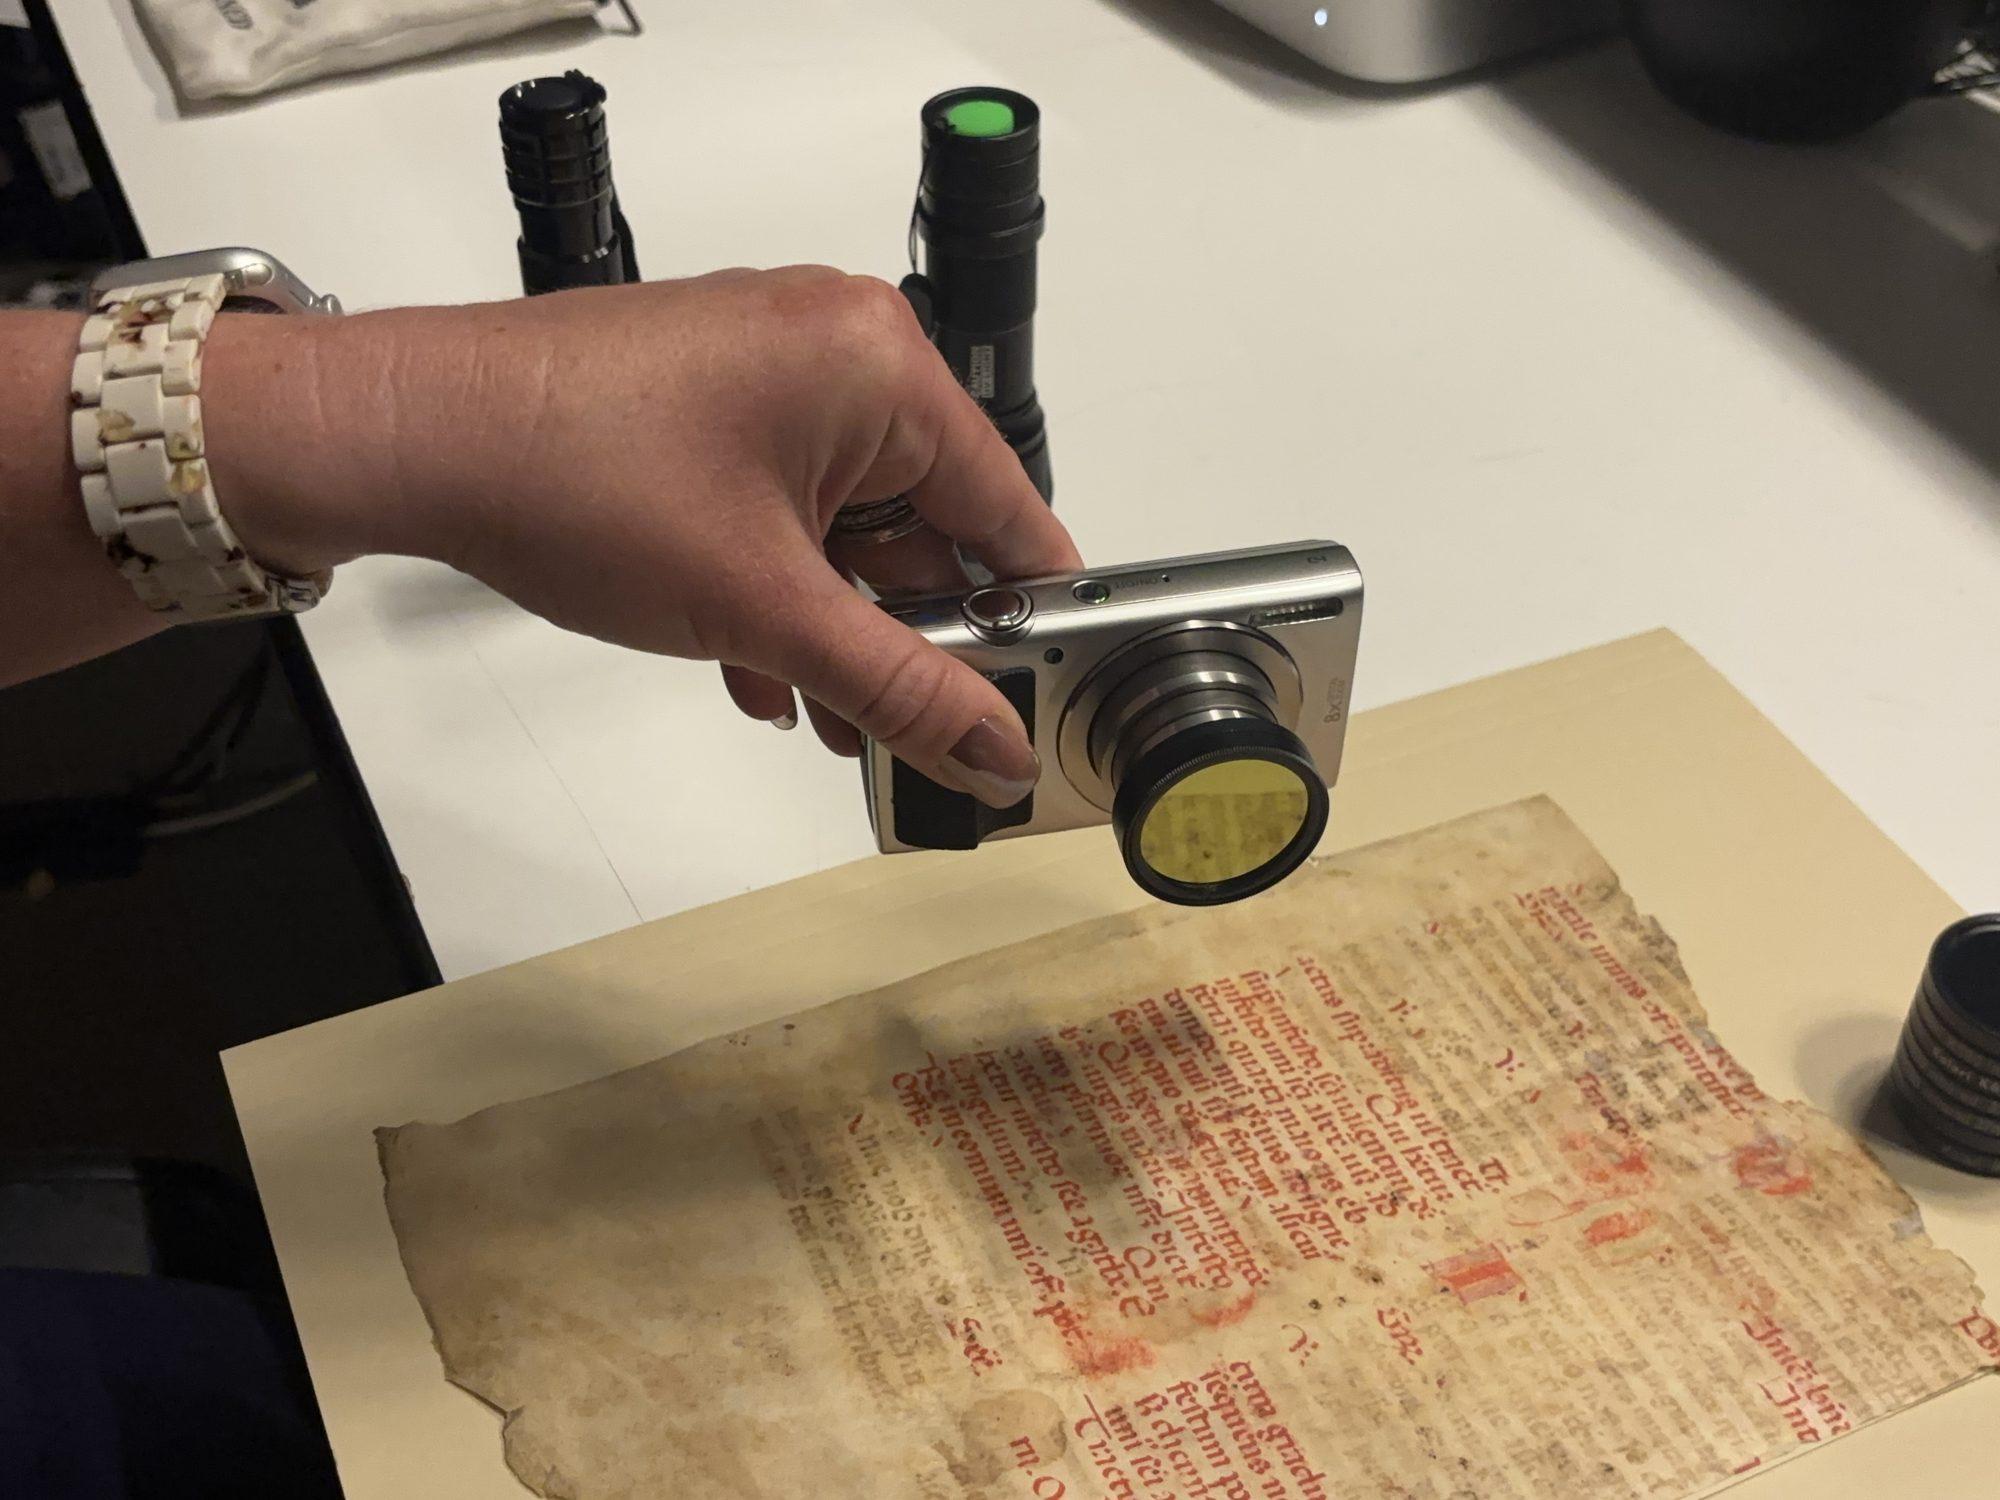
Step 4: Filters
Take photos with the filters in your kit. As always, it’s better to have more images than you think you need.
Step 5: Check Your Data & Back Up
Ensure you have the data you need while you’re still on site. There’s nothing worse than going on an imaging trip, confidently gathering your data, and then returning home to realize there was a hole in what you collected. You don’t want to have to add “find funding for another trip” to your to-do list.
You also want to ensure you’re backing up your data. Have an extra hard drive so that you can have a copy on your local machine, a separate physical back up, and a cloud back up. Lots of copies keeps stuff safe.